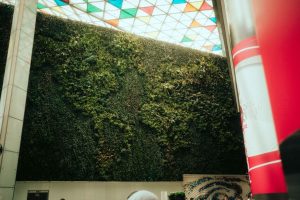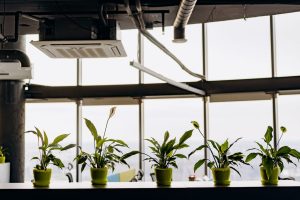
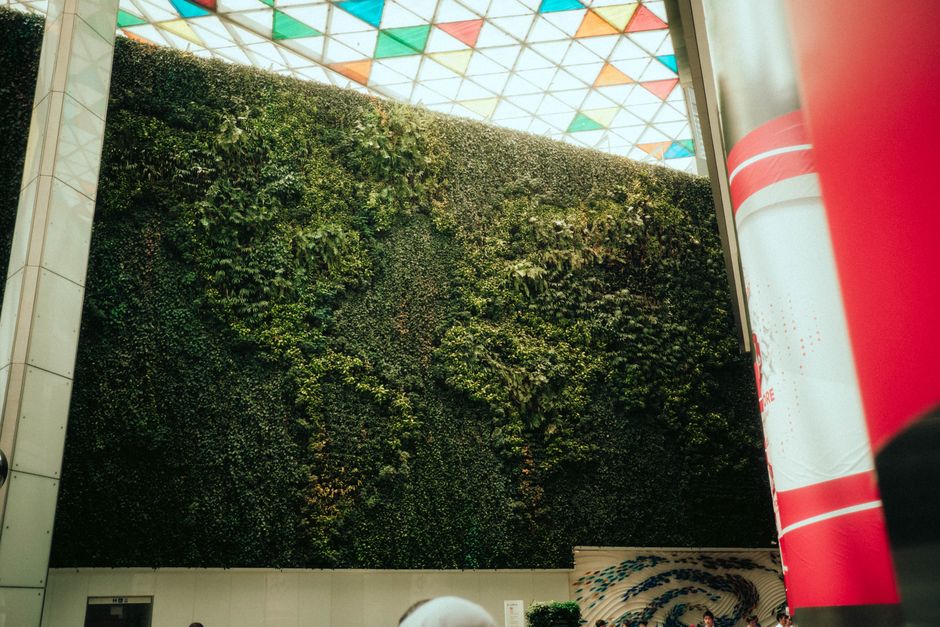
Living walls and vertical plant installations are one of the most powerful ways to bring nature into your home or office. Instead of tucking plants on shelves or windowsills, you’re using your walls as living canvases. A well-designed vertical installation can completely change the energy of a room while maximizing every inch of your space.
If you’re curious about whether this is something worth pursuing for your own space, we’ll walk you through the whole process—from what these installations actually are, to the key steps involved in bringing one to life, to how you keep it thriving long-term.
What Are Living Walls and Vertical Plant Installations?
A living wall is exactly what it sounds like: a wall covered partially or fully with living plants, arranged vertically rather than horizontally. The plants grow from panel systems that are mounted directly onto your wall, creating a dynamic, breathing piece of living décor.
These installations come in different styles. Some use pocket systems where individual plants sit in small fabric or plastic holders. Others use fluted panel systems with small pots integrated into the structure. The key is that the plants are anchored to the wall itself, stacked vertically to make the most of your square footage.
The difference between a living wall and just hanging a bunch of planters is the integration and intentionality. A true vertical installation is designed as a system. It has proper irrigation (so plants don’t dry out or create water damage), structural support that handles the weight, and a carefully planned mix of plants that work together in that specific space and lighting.
Why Living Walls and Vertical Plant Installations Matter
Beyond pure aesthetics, these installations serve real purposes. They purify the air in your space, create a calming visual focal point, and make you feel more connected to nature—especially important if you work from home or spend long hours indoors.
They’re also incredibly practical. If you have limited floor space, a living wall reclaims vertical real estate that’s often wasted. It’s a clever use of your square footage that also adds measurable value to how a space feels.
And if you care about sustainability and wellness—two things that resonate deeply with people in Austin—living walls are a tangible way to weave those values into your daily environment.
The Four Essential Steps to Installing a Living Wall
Creating a living wall isn’t a weekend DIY project for most people. The installation involves multiple interconnected elements, and skipping even one step can lead to problems down the line. Here’s what the process looks like:
1. Waterproofing
This is the critical first step, and honestly, it’s why professional installation is so important. Water will inevitably run down from the plants above. Without proper waterproofing beneath and behind your panel system, that moisture soaks into your wall, drywall, and the structure underneath. Over time, you’re looking at mold, rot, and structural damage.
Waterproofing involves sealing the wall surface and installing a barrier that directs water safely away—typically down to a catch basin or drain system. This protects your home and ensures your living wall doesn’t become a liability.
2. Panel Installation
Once the wall is waterproofed, the vertical growing system itself goes up. This could be a fluted wall panel system, pocket panels, or modular trays—whatever matches your design vision and your wall’s structural capacity.
The panels need to be mounted securely, level, and attached to studs or appropriate anchoring points. The weight of soil, plants, and water is substantial, so this step requires precision and the right hardware.
3. Irrigation Setup
Plants don’t thrive on sporadic watering. A living wall needs a systematic irrigation setup—think drip lines, emitters, or micro-sprinklers that deliver consistent moisture to each plant pocket or level. This infrastructure is typically connected to a water source and often includes a timer.
Good irrigation keeps your plants hydrated without waste and prevents the drought-stress that leads to browning and die-off in vertical systems.
4. Plant Placement and Design
Finally, the fun part: choosing your plants and arranging them. This is where design expertise matters. You’re selecting plants that thrive in your specific light conditions (bright indirect light, medium light, low light), your humidity level, and your temperature range. Then you’re arranging them in a way that’s visually balanced and allows each plant enough space to grow.
For indoor living walls, trailing plants often work beautifully on upper levels (since they cascade down), while more compact or upright plants anchor the middle and lower sections. A mix of textures, leaf shapes, and colors creates visual interest without looking chaotic.
Choosing Plants for Your Vertical Installation

Not every plant works in a living wall. You want varieties that are compact, don’t require constant pruning, and can handle the specific light and humidity your space offers.
Common choices for indoor vertical installations include pothos, philodendron varieties, succulents (if your wall gets bright light), ferns, and small-leafed plants like baby tears or string of pearls. These tolerate the drying effect of vertical growth, stay relatively proportional, and create lush, full appearances without needing aggressive maintenance.
The key is matching plant type to your wall’s actual light conditions. A north-facing wall in your home needs shade-tolerant plants. A south-facing wall with bright indirect light can handle more sun-loving varieties. Getting this match right is the difference between a thriving wall and a disappointing one.
If you’re not sure which plants will work best in your specific space, Nature Indoors specializes in designing custom vertical installations tailored to your exact lighting, humidity, and aesthetic goals.
Related: Indoor Plant Design for Wellness Spaces: A Complete Guide
Related: Plant Care Service for Apartment Complexes: A Complete Guide
Structural Considerations and Planning
Before you install anything, your wall needs to be structurally sound. This means understanding your wall’s composition (drywall, plaster, brick, concrete), its load-bearing capacity, and what’s behind it (electrical, plumbing, studs).
A professional installer will assess these details. They’ll determine whether your wall can handle the weight of a full living installation, or if you need to anchor to studs or use a lighter system. They’ll also identify any obstacles or utilities that need to be worked around.
This planning phase is complex because there are so many variables in play. But it’s the foundation for a living wall that stays secure, drains properly, and actually thrives for years.
Maintenance and Long-Term Care
Once your living wall is installed, it does require ongoing attention—but not necessarily every day. The irrigation system handles watering, so your role is more about monitoring health and performing seasonal maintenance.
You’ll want to watch for pests, check that plants are growing well, trim back anything getting too leggy, and replace any plants that aren’t thriving. Depending on your system, you might also need to clean the leaves occasionally so they can breathe and photosynthesize effectively.
The good news: if the installation was done right and you chose plants suited to your space, maintenance becomes routine rather than stressful.
Indoor vs. Outdoor Living Walls

The principles are similar whether you’re installing an indoor or outdoor living wall, but the plant choices and maintenance schedules shift. Outdoor walls can handle more dramatic light and temperature fluctuations, so you have more plant variety available. Indoor walls rely on your home’s ambient light and stable temperature.
Outdoor walls also might integrate with your home’s existing landscaping aesthetic, while indoor walls need to coordinate with your interior design. Both approaches are valid—it’s just about understanding what your environment offers and what experience you want to create.
Is a Living Wall Right for Your Space?
Ask yourself a few honest questions: Do you have a wall that feels empty or underutilized? Can your space handle a moderate amount of water runoff during irrigation? Do you want to invest in professional installation and occasional maintenance? Are you interested in creating a focal point that genuinely improves how your space feels?
If you’re nodding yes, a living wall could be transformative for your home or office. If you’re on the fence, talking with Nature Indoors about your space can help clarify whether this is the right move for you.
Getting Started With Your Living Wall
The best first step is to assess your space honestly. Which walls do you want to transform? What’s your lighting situation? How much maintenance are you willing to commit to? Are you looking for this in your home, office, or commercial space?
From there, you can begin exploring design options and understanding what installation would look like in your specific environment. Professional designers can help you navigate the structural questions, irrigation logistics, and plant selection so you end up with something beautiful that actually thrives.
Living walls and vertical plant installations aren’t just trends—they’re a meaningful way to integrate nature into the spaces where you spend your time, and they do it with intentionality and care.
What’s the difference between a living wall and a green wall?
The terms are often used interchangeably, though some people distinguish between them. A living wall typically features plants rooted in soil or growing medium within the wall system itself. A green wall sometimes refers to a facade or exterior structure covered entirely in plants. In practice, both terms describe vertical plant installations where greenery covers or accents a wall surface.
How much light do living walls need?
It depends on the plants you choose. Some plants thrive in low light conditions (like pothos or philodendron), while others need bright indirect light to stay vibrant. This is why designing your living wall starts with understanding your wall’s actual light exposure throughout the day. A north-facing wall needs shade-tolerant plants, while a wall near a bright south or west-facing window can support more light-hungry varieties.
Can I install a living wall myself?
Small, lightweight systems might be DIY-friendly, but professional installation is recommended for full living walls. The waterproofing, structural anchoring, and irrigation setup require expertise in construction, landscaping, and plumbing. Skipping these steps usually leads to water damage, failed plants, or safety issues. If you’re serious about creating a thriving installation, professional expertise is worth the investment.
How often do living walls need watering?
Thanks to the irrigation system, you’re not hand-watering daily. The system delivers consistent moisture on a schedule (often daily or every other day, depending on your plants and environment). Your role is monitoring the system to make sure it’s functioning properly and adjusting the frequency seasonally. In winter, plants need less water. In summer heat, they might need more frequent irrigation.